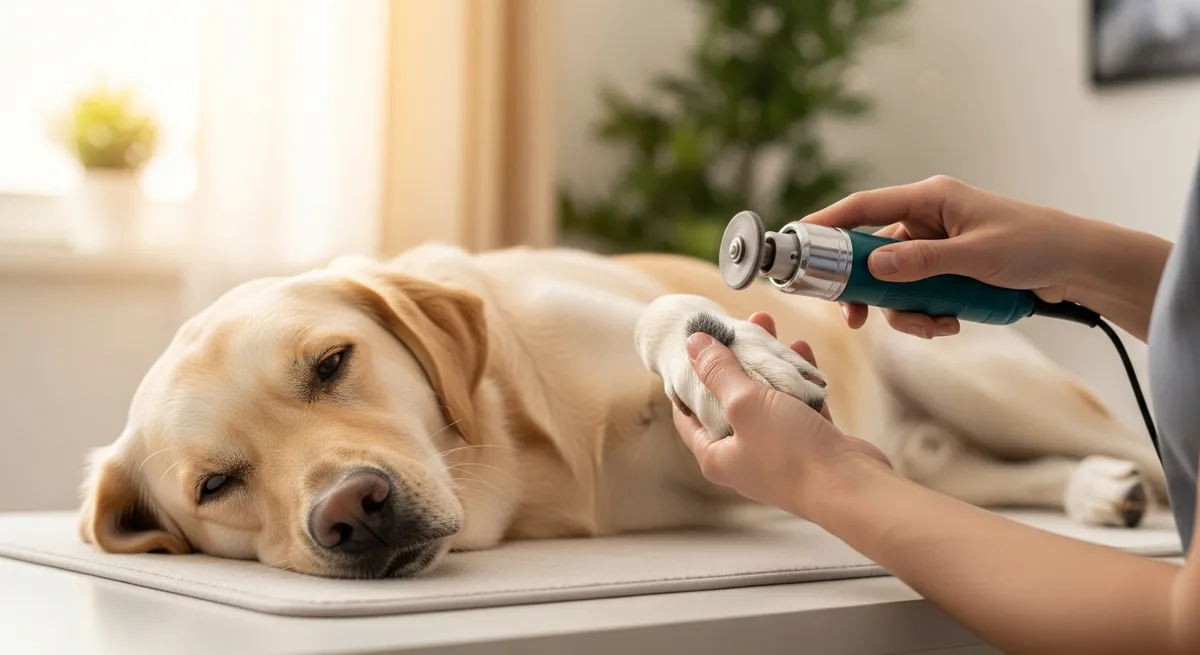
Most of us reach for a pair of clippers because that is what our parents used, what the pet store sells by the register, and what feels fastest. But for a lot of dogs — especially those with thick, dark, or already-overgrown nails — clipping is the very thing that causes pain, splitting, and the lifelong "please don't touch my feet" reaction. Grinding is often the better answer. Here is why.
If you are not sure your dog even needs a trim yet, start with the signs your dog's nails are causing pain, then come back here for the how.
The core problem with clipping: it crushes before it cuts
A nail clipper works by applying blunt force from two sides until the nail snaps. On a thin nail that is fine. On a thick, hard, or older nail, the blades compress the nail before they sever it, and that compression is the problem:
- It cracks the nail. Instead of a clean edge, the nail can split or fracture — sometimes up into the nail itself, toward the sensitive nail bed. A crack that travels up the nail can expose the quick and cause ongoing pain long after the trim is over.
- It causes micro-fractures you can't see. Even when the outside looks fine, the squeezing motion can fissure the layers of the nail, leading to peeling and snagging later.
- It pinches. Dull or ill-fitting clippers don't sever cleanly; they bend and pinch the nail, sending an unpleasant pressure straight into the toe. One bad pinch is all it takes to teach a dog that the clippers are the enemy.
- It is an all-or-nothing cut. With clippers you commit to a length and hope you didn't just hit the quick. There is no feathering, no checking as you go.
Why grinding is gentler
A rotary grinder (a pet-specific tool, or a Dremel-style rotary used carefully) files the nail down with a sanding band rather than snapping it. That difference changes everything:
- No crushing, no cracking. Because you are sanding away thin layers, there is no compressive force to fracture the nail or travel into the nail bed.
- You take off a little at a time. Grinding is gradual by nature, so you can stop the instant you see the signs you are approaching the quick — a small dark dot appearing in the center of the cut surface. This control is exactly what makes it safer for overgrown nails, where the quick has grown long and you need to sneak up on it over several sessions.
- Smooth edges. Grinding leaves a rounded, smooth finish instead of a sharp clipped corner that snags carpet and scratches skin.
- It is more forgiving on thick and dark nails. With dark nails you can't see the quick through the nail. Grinding's take-a-layer-then-check rhythm dramatically lowers the odds of quicking a dog whose quick you can't see.
The honest tradeoffs
Grinding is not magic, and it is fair to know the downsides:
- Noise and vibration. The motor hums and the nail vibrates slightly. Sound-sensitive dogs need a gradual introduction (let them hear it off, then near, then briefly touching, paired with treats).
- Heat. Friction creates warmth. Grind in short bursts of a second or two per nail and move on; never hold the tool against one nail continuously.
- Long fur risk. Keep fur well clear of the spinning band — tuck it back or use a sock/pantyhose with the nail poked through. Fur catching in a grinder is the one real hazard, and it is fully preventable.
- It is slower. A full grind takes longer than four quick snips. The payoff is a dog who tolerates it for life.
A practical hybrid that many groomers use
You do not have to pick a side religiously. A common professional approach is to clip first, grind second on dogs with very long nails: take off the long tip with a sharp clipper (well clear of the quick), then grind to shape, smooth, and gently shorten further with control. For dogs with thin nails and zero clipper trauma, a sharp, properly sized clipper used confidently is perfectly fine. The goal is a comfortable dog and a healthy nail — not loyalty to a tool.
How to switch a clipper-traumatized dog to grinding
1. Desensitize to the sound. Over several days, turn the grinder on across the room and feed treats. No paws involved yet.
2. Touch without grinding. Let the body of the (running) tool touch a paw briefly, treat, done.
3. One nail, one second. Grind a single nail for one second, treat, and stop the whole session. End on a win.
4. Build up. Add a nail or two per session. Within a couple of weeks most dogs are calm for a full set.
5. Mind the quick and the heat. Short passes, check the cut surface for the developing dark center, and keep sessions brief.
If your dog has a cracked nail, is bleeding, or is in obvious pain, skip the DIY and see your veterinarian or a professional groomer. And keep a record of what works — the brand of grinder, the schedule, the treats. If your shelter uses PawMates Pro, grooming and care notes can live alongside your pet's profile, and a continuous lifetime medical record means the next groomer or vet isn't starting from zero.
Frequently asked questions
Is it better to grind or clip a dog's nails?
For thick, dark, or overgrown nails, grinding is usually gentler and safer because it sands gradually instead of crushing. For thin nails on a dog with no clipper fear, a sharp clipper is fine. Many groomers clip the tip then grind to finish.
Does clipping dog nails hurt them?
It should not when done correctly above the quick — but clippers can crush and crack thick nails, and hitting the quick is painful and bloody. That risk is what pushes many owners toward grinding.
Can I use a regular Dremel on my dog's nails?
A rotary tool can work on a low speed with a sanding band and careful technique, but pet-specific grinders are designed for the job (guards, appropriate speed). Whichever you use, short bursts, keep fur clear, and watch for heat.
How do I avoid hitting the quick?
Go gradually and watch the cut surface. On light nails the quick is the pink area — stop before it. On dark nails, grind thin layers and stop when a small dark circle appears in the center of the tip.
Related reading
- Your dog's nails may be causing pain: signs, causes, and what to do — how to know it's time, and what overgrowth does to the joints.
- What if every pet had a lifetime medical record? — why keeping grooming and health notes in one place pays off.
For more practical pet-care guides, visit the PawMates adopter blog.