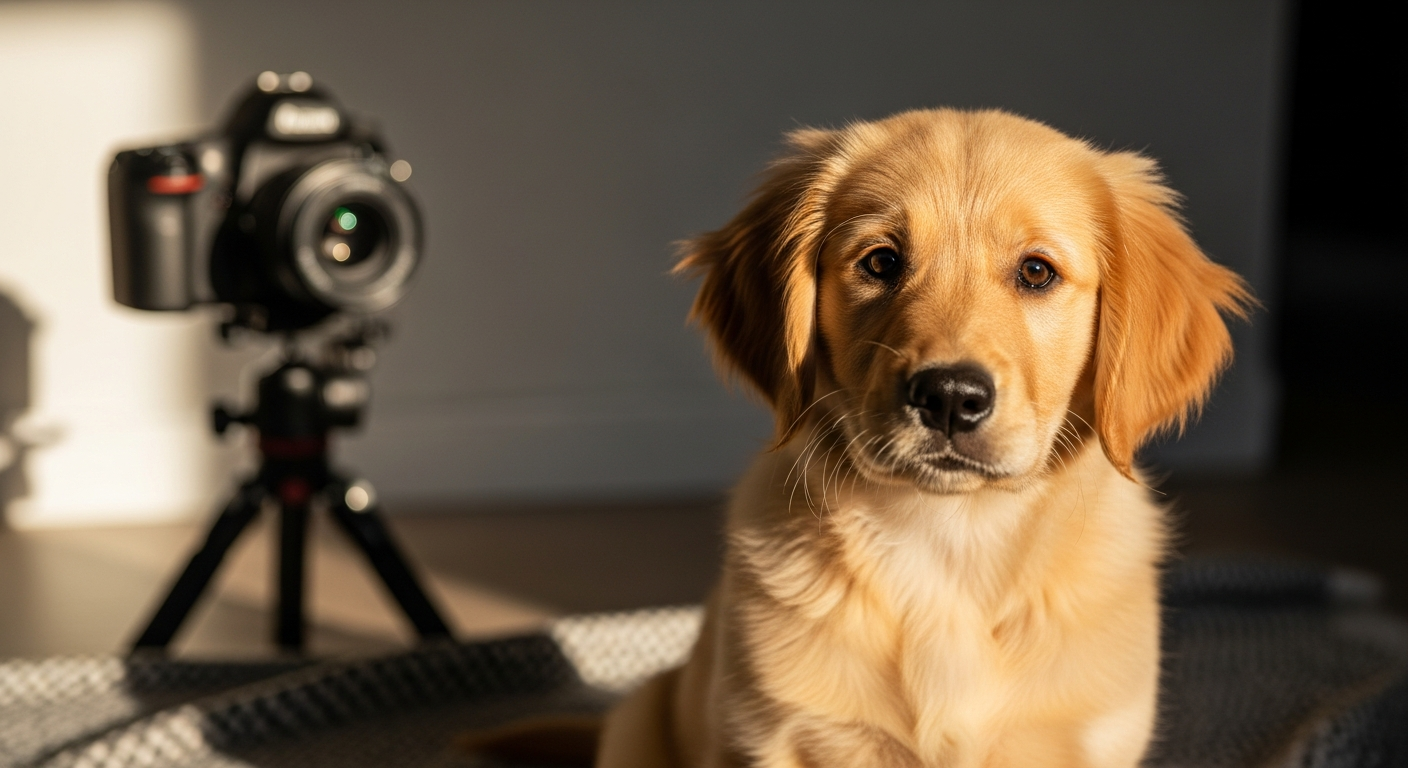
As shelter staff and volunteers, you know that a great photo can be the difference between a pet sitting in a kennel for weeks and finding their forever home. Studies show that animals with clear, well-lit adoption photos get up to 3x more interest from potential adopters. Here are practical tips tailored to your shelter workflow.
1. Use Natural Light — Even in the Shelter
• Move animals near an open door, window, or covered outdoor area for soft natural light.
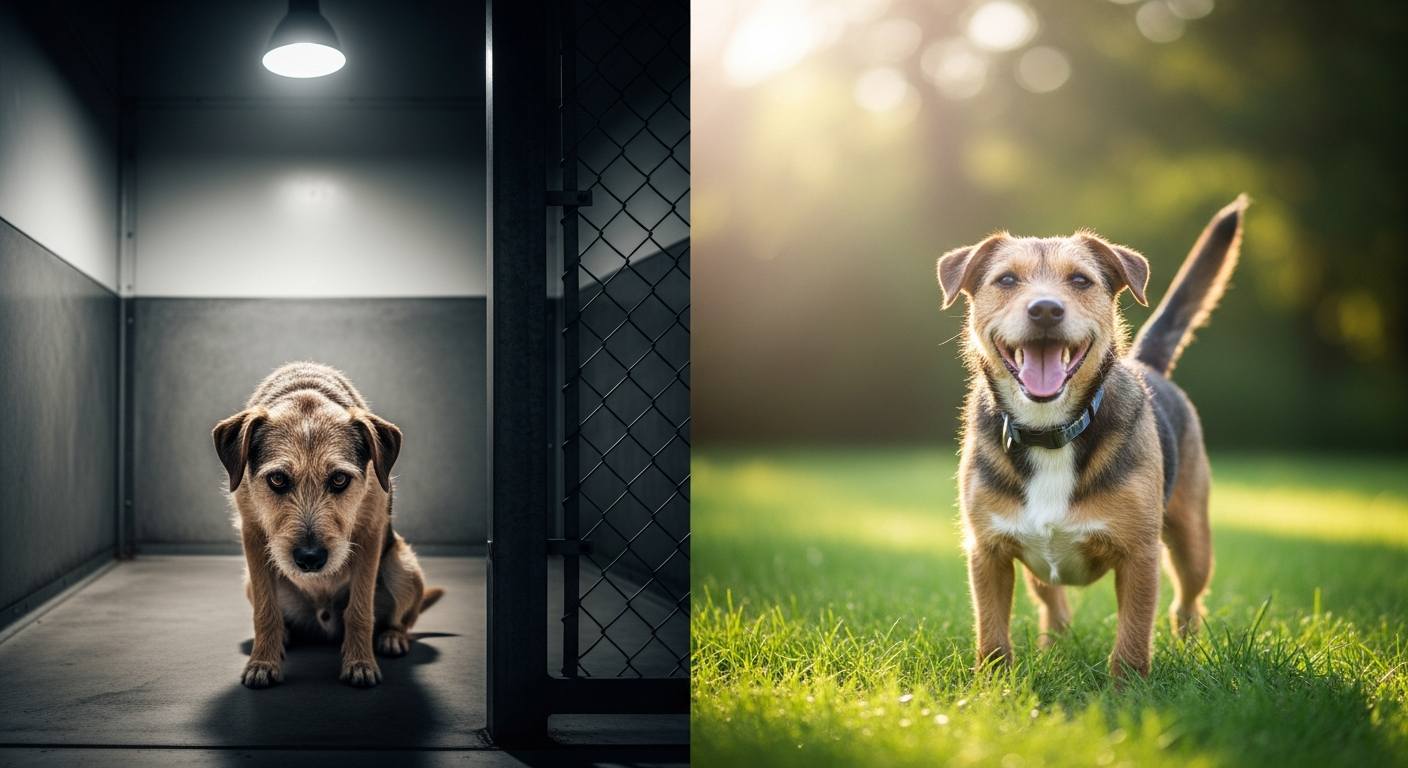
• Avoid fluorescent kennel lighting — it washes out fur color and creates harsh shadows.
• If you're doing batch photo sessions, set up a station near the best natural light source in your facility.
• Golden hour (early morning or late afternoon) is ideal for outdoor shots.
2. Get Down to Their Level
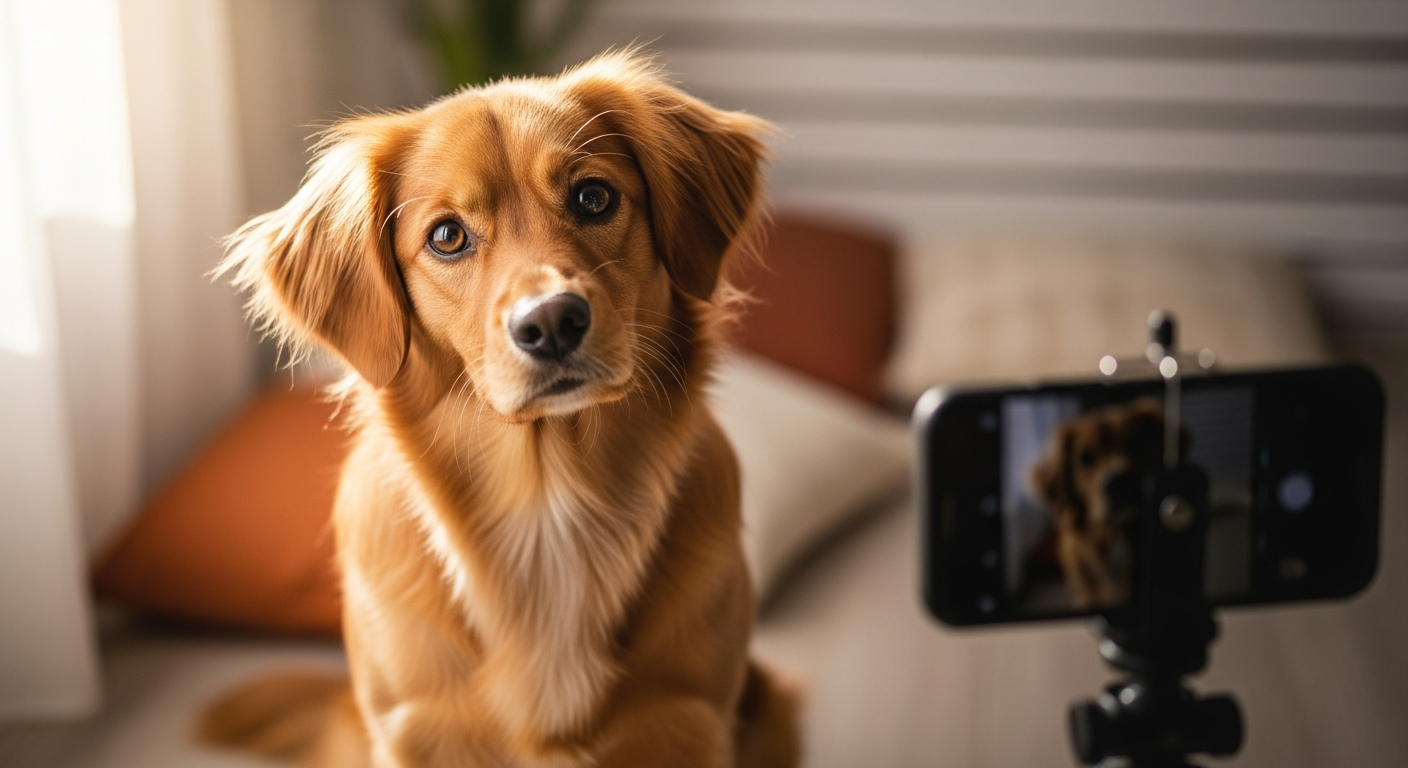
• Kneel, sit, or even lie on the ground to shoot at the animal's eye level.
• This creates an emotional, personal connection that adopters respond to — it helps them imagine the pet in their home.
• A photo taken from above looking down makes animals look smaller and less engaging. (Once you have strong photos, pair them with social media strategies that drive adoptions.)
3. Focus on the Eyes
• Tap to focus directly on the eyes — this is the single most important element.
• A bright reflection (catchlight) in the eyes makes the animal look alive and alert.
• Use portrait mode on your phone for a soft background blur that keeps attention on the face.
4. Clean, Simple Backgrounds
• Use a neutral wall, a clean blanket on the floor, or a grassy area outside.
• Avoid shooting in the kennel — chain-link fencing and concrete floors make animals look institutional.
• If you must shoot indoors, drape a solid-color sheet or towel behind the animal.
• Clean backgrounds consistently get more clicks on adoption listings. (Pair great photos with compelling written profiles — see The Power of a Great Pet Description.)
5. Treats, Toys & Sounds
• Keep squeaky toys and high-value treats at your photo station.
• Hold a treat right next to your phone lens to get direct eye contact.
• Have a helper make sounds to create alert, curious expressions.
• Be ready — the perfect look only lasts a second or two.
6. Show Their Personality
• Capture what makes each animal unique — a goofy head tilt, a playful pounce, a calm cuddle.
• Candid personality shots consistently outperform stiff, posed photos in adoption listings.
• If a dog loves fetch, photograph them mid-play. If a cat is a lap cat, show them relaxed and content.
• Adopters want to see temperament, not just appearance.
7. Use Burst Mode for Active Animals
• Turn on burst mode and take 20-30 shots in a few seconds.
• Pick the sharpest, most expressive frame afterward.
• This is especially helpful for puppies, kittens, and high-energy animals that won't sit still.
8. Quick Grooming Before the Shot
• Wipe eye discharge, smooth out ruffled fur, and clean any visible drool.
• Remove bulky shelter collars or harnesses if safe to do so — a simple bandana can add charm.
• These small details make a surprisingly big difference in how adopters perceive the animal.
9. Edit Lightly
• Bump brightness slightly so the animal's features are clear.
• Add a touch of warmth — cool, blue-tinted photos feel clinical.
• Sharpen gently to bring out fur texture.
• Avoid heavy filters — adopters want to see what the animal actually looks like.
10. The Shelter Photo Checklist
• One clear face/headshot with eye contact
• One full-body shot showing size and build
• One personality shot (playing, cuddling, or being themselves)
• Always shoot in portrait (vertical) orientation for your primary photo — this is the most important format for PawMates
• Square photos are a great alternative that display well across all platforms
• Consistent framing across your listings makes your shelter look professional
11. Shoot in Portrait for PawMates
This one is worth its own section because it makes such a big difference. PawMates uses a tall, swipe-based card layout — similar to dating apps — so your pet photos are displayed in a vertical frame.
• Portrait (vertical) photos fill the entire card naturally, giving adopters a full, immersive view of the animal. This is the ideal format for your primary listing photo.
• Landscape (horizontal) photos get cropped to fit the card, which can cut off ears, tails, or paws. They may also leave empty space above and below the image, making the listing look less polished.
• Square photos are a solid middle ground — they adapt well to both portrait and landscape displays and won't get awkwardly cropped.
• For the best results, hold your phone upright when taking the primary photo. Close-up headshots and full-body standing shots in portrait orientation consistently perform best.
• If you take landscape photos for other platforms, that's fine — just make sure your first photo (the one adopters see on the swipe card) is portrait.
How PawMates Helps Your Photos Shine
Once you upload your photos, PawMates Pro does the rest to make your animals look their best:
• Focal Point Cropping — Set a custom focal point on each photo so the face is always perfectly centered, even when the image is displayed at different sizes across the platform.
• Swipe-Optimized Display — Photos are presented in a full-screen, Tinder-style card format that puts the image front and center, giving adopters an immediate emotional connection.
• Consistent Presentation — Every listing follows the same clean layout, so your shelter's animals look polished and professional regardless of who took the photo.
• Automatic Imports — For partner shelters, PawMates pulls your listings automatically every day, so photos you upload to your own system appear on PawMates without extra work.
Great photos save lives. Even small improvements to your photo workflow can dramatically reduce length of stay and increase adoption rates. Share your own tips and before/after examples in the comments!
Related Articles